How to Build a Retaining Wall
Contents
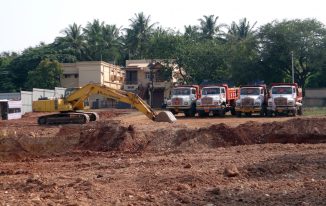
Spotlight on the retaining wall
Step 1: Mark out the foundation
Step 2: Dig the bottom of the hole
Step 3: Pour the foundation
Step 4: Build the retaining wall
Step 5: Make the retaining wall drain
Step 6: Backfill the retaining wall
Step 7: Retaining Wall Maintenance
A retaining wall is an exterior wall that holds material (soil, powder, rubble, etc.). It is generally found on sloping ground. The retaining wall can also be used to protect against erosion and flooding, to act as a noise barrier, or as a fence.
The principle of the retaining wall consists in opposing the thrust of the materials retained by it. If its construction requires professional know-how, it is possible to realize a retaining wall in certain simple cases, for example, a small slope.
Good to know: If you are not completely sure you want to build your retaining wall alone, you can call on a professional who will be able to advise you and carry out a quality installation. You can use online directories to find a professional near you.
Here are the steps to build a retaining wall in cinder block. It can also be made of block or precast concrete.
Spotlight on the retaining wall
Intended to retain material, the retaining wall must have a sufficiently stable base and be strong enough to resist pressure. This is why its construction must respect certain essential points.
Regarding the terrain:
the difference in level must not exceed 10%;
the ground must not be loose.
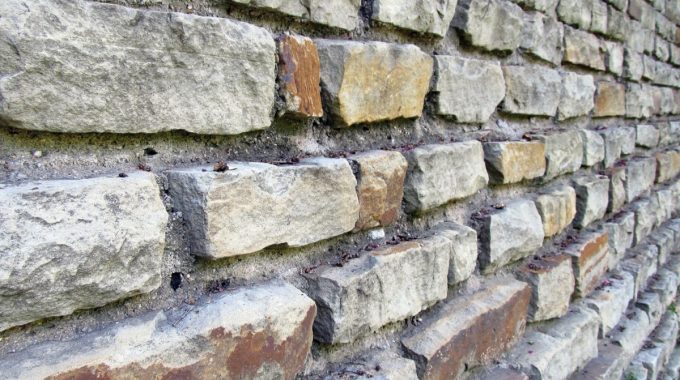
Inverted T-wall
The retaining wall can be in the shape of an inverted T: the width of the wall is identical over its entire height, but the footing is wider than the wall. The width of the foundation on the backfill side is greater than on the visible wall side.
Caution: for a high wall or a wall subject to certain specific constraints, this method can only be considered after a precise analysis by a design office.
The dimensions of the wall and its foundations depend on the nature of the soil, the type of wall, etc. However, we can define the following orders of magnitude:
The foundations are frost-free. If necessary, consult the map of your region to know the depth to be reached.
The width of the footing is approximately 0.5 to 0.66 × height, with a minimum of 40 cm. The part of the footing on the visible wall side (the shortest) is 0.15 to 0.20 × height.
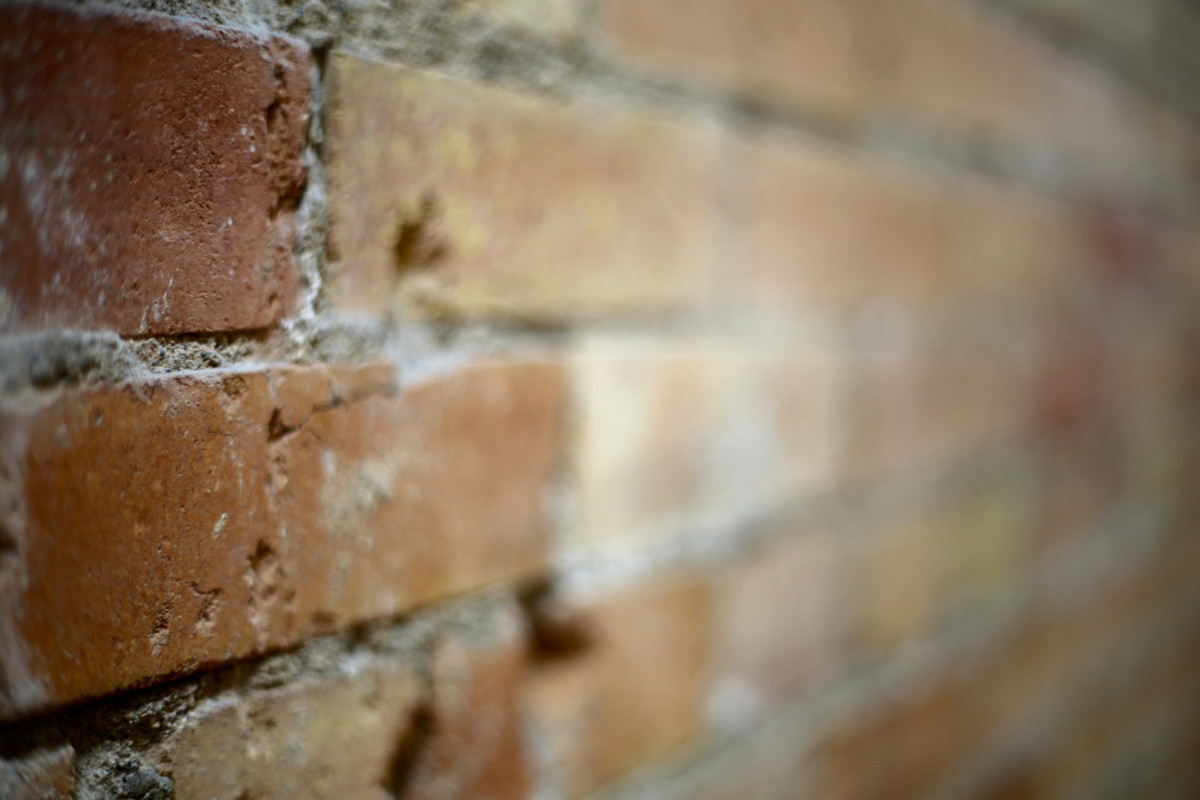
With conventional cinder blocks, the wall width is 20 cm (minimum thickness).
Example 1: a 1 m high retaining wall has a footing of 50 to 66 cm wide, i.e., 15 cm on the visible wall side + 20 cm (wall thickness) + 15 to 30 cm on the backfill side.
Example 2: if the wall is 2 m high, the footing is 1 to 1.30 m wide, i.e., 30 cm on the visible wall side + 20 cm (wall thickness) + 50 to 80 cm on the backfill side.
The “weight wall”
Another possible form is the “weight wall,” which is characterized by a base wider than the top of the wall. This method is less economical in material, but its design ensures a certain stability. The dimensions (depth of footing excluding frost):
– footing width between 0.33 and 0.5 × height (40 cm minimum);
– width of the base of the wall in the order of 0.2 × height + 0.10 m;
– minimum width of the top of the wall (last third) of 20 cm.
Example: a weight wall of 1 m height has a footing of 40 to 50 cm wide, a base formed by blocks of 27 cm thick, and the top of the wall (last third) is made with conventional blocks of 20 cm thick.
Finally, any retaining wall construction must be accompanied by an effective drainage system.
Note: do not hesitate to consult a design office that can precisely establish the operating load of your low wall and, thus, its dimensioning and reinforcement. A well-designed wall avoids unpleasant surprises during the implementation and ensures the durability of the construction over time.
1. Mark out the foundations
Start by marking the location of your wall on the ground according to the dimensions of the foundation:
Drive stakes into the ground at the ends of the wall and regular intervals.
Stretch a line between the stakes.
Mark the location of the excavation in the ground with plaster.
Then remove the stakes and the string.
2. Dig the bottom of the excavation
Use a shovel and pickaxe to excavate your slope to the right depth, or rent a mini-excavator. The excavation depth is the depth of the footing plus the thickness of the hedgehog.
Reserve the soil, if it is not clayey, and the stones. These stones, once washed, will be used for the backfill, the drainage, and the foundation.
3. Pour the foundations
At the bottom of the excavation, form a hedgehog of about 10 cm made of either gravel with a large granulometry, small pebbles from the recovery of the excavation, or a mixture of both.
Prepare your concrete in a concrete mixer. Pour a 5 cm thick footing along the length of your wall, or place 5 cm shims to raise the reinforcement.
Set up the reinforcement. Place bonded footings along the length of the wall, and place evenly spaced vertical waits that will be attached to the retaining wall.
Fill your excavation with concrete
Level the layer and check the level with a spirit level.
Allow about 48 hours to dry before masoning the wall.
4. Assemble the retaining wall
Set up a leveling rod and a line to get your wall’s horizontal and vertical levels.
Prepare your mortar in a concrete mixer.
Spread a layer of mortar and start laying the first row of breeze blocks, checking alignment and level.
Every 2 meters or so, place corner blocks with vertical reinforcement to strengthen your wall.
Note: reinforcement is an essential aspect of the strength of the wall. Make sure that it is properly done with quality steel of sufficient section.
At the bottom of the wall, above the drain level, make slanting holes in the cinder blocks to create the water drainage channels. You can drill the holes with a sledgehammer and a punch (or rent a drill with a bit).
Note: by placing the weep holes above the drain, you can detect if the drain is clogged.
From one row to the next, start alternately with a full cinder block or a half cinder block. This way, the joints are staggered.
After each block is laid and when a row is finished, check the level and plumb with a spirit level and plumb bob. Take the time to make corrections if necessary.
If your wall is more than 2 m high, make additional horizontal reinforcement at mid-height and the top of the wall.
Note: a retaining wall requires know-how and expertise. If the construction itself is not complicated, consult a design office for the design. They will provide you with all the dimensions and reinforcement to be made according to your land and the wall to be built. This represents a saving of time and a substantial saving concerning the risks incurred by a badly designed wall.
5. Make the drain of the retaining wall
The drain is an essential element to ensure the durability of your retaining wall. It is made on the backfill side since it evacuates the water absorbed in the retained earth.
Start by applying a bituminous coating on the entire surface of the wall or base protection.
Note: waterproofing the wall on the backfill side avoids degradation of the concrete and reinforcement of the wall.
Once the waterproofing product is dry, place a geotextile drainage felt, which will wrap the gravel and the drainage pipe. Place it against the wall at the height of the future drain. Allow enough length to go down to the ground and back up to cover the drain completely.
Good to know: the rot-proof felt strips must overlap. It is this geotextile that prevents fine soil from entering the drainage system and prevents it from clogging.
Lay a bed of small stones and gravel of sufficient size.
Place the drainage sock (pipe) and cover it with gravel.
“Close” the geotextile felt.
Attention: when designing the drainage, it is important to remember that an owner does not have the right to evacuate his rainwater to his neighbor and that he is responsible – art. 681 of the Civil Code. If necessary, the water must be redirected to a collection and evacuation network.
6. Backfill the retaining wall
If your soil is draining, you can mix it with large enough pebbles to backfill your retaining wall.
Note: if your soil is not draining (clay soil, for example), the engineering office will tell you. It is then preferable to buy a draining backfill from a quarry.
Backfill within the planned fill level. A larger slope would modify the forces at play.
7. Retaining Wall Maintenance
Check the flow of water through the barbicans regularly.
Also, check the water flow through the drain. During construction, you can provide a manhole to check and possibly clean with a water jet.
Avoid planting trees with large roots near the wall.
Do not consider any construction modification (raising the wall, building on the wall’s footing, etc.) without consulting a design office.
Materials needed to build a retaining wall
Ready-to-use concrete
Concrete mixer
Chisel point
Gardener’s line
Geotextile felt
Plumb line
Thick protective gloves
Gravel
Sledgehammer
Spirit level
Shovel
Pickaxe
Mason’s bucket
Mudpuppet
Mason’s trowel