
5 Tips for Arc Welding
Contents
Safety tips for arc welding
Step 1: Prepare the parts to be welded
Step 2: Assemble the parts
Step 3: Set up the welding machine
Step 4: Start the welding arc
Step 5: Start the arc welding
Step 6: After welding
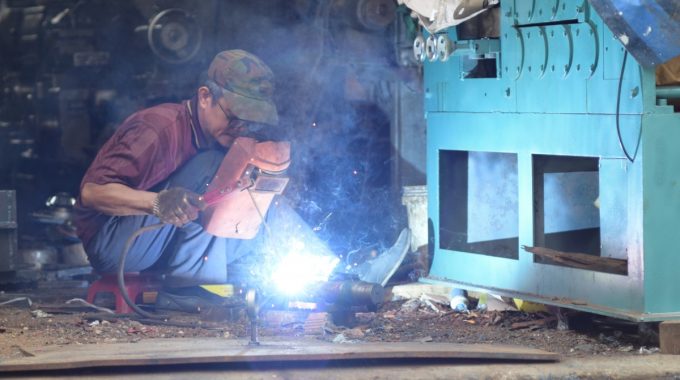
Arc welding is used to join metal parts. The final joint is robust because the two masses become one due to the fusion caused by the electric arc. Arc welding is a technique that must be handled with care, as molten elements can be projected during the welding process.
It is an “autogenous” type of welding, i.e. it melts the steel of the parts to be welded while joining them with a so-called filler metal. This filler metal is in the form of electrodes that melt as the welding process proceeds.
The basic method of arc welding is to consistently control a gap of a few millimetres between the parts to be welded and the welding electrode.
Here are the materials needed and the steps for arc welding.
Safety tips for arc welding
Like torch welding, arc welding requires care. Indeed, arc welding involves using electric current through a short circuit between the electrodes and the elements to be welded.
– The temperature that allows the elements to melt and weld exceeds 3,000°C. Therefore, you should follow any safety instructions to ensure that your arc welding succeeds.
– Ensure you keep your mask and protective gloves on during the entire welding process. It would help to use your mask for every welding spot; otherwise, you will have “flashes” in your eyes all night after welding, a very unpleasant sensation that prevents you from sleeping.
– Dress in cotton clothing and possibly a welding apron to protect you from sparks.
– Take care to keep the work area clean and dry.
– Ensure that you weld in a place free of flammable or dangerous materials.
– Choose the correct electrode diameter for the thickness of the parts to be welded. An unsuitable electrode will affect the final weld shape and make it more fragile.
Here is a table to help you choose the suitable electrode diameter:
The diameter of the electrodes according to the thickness of the elements to be welded
|
Electrode diameter |
Thickness of the elements to be welded |
Current (in amperes) |
|---|---|---|
|
1,6 mm |
1.5 to 2 mm |
35 to 52 A |
|
2 mm |
2 to 2,5 mm |
52 to 75 A |
|
2,5 mm |
2,5 to 3,5 mm |
75 to 100 A |
|
3,15 mm |
3,5 to 5 mm |
130 to 170 A |
|
4 mm |
5 to 7 mm |
180 to 210 A |
1. Prepare the parts to be welded
– Take the wire brush and carefully clean the parts to be welded.
– If one or more of the elements to be welded have been cut, trim them using the file.
Tip: It is best to cut them in a chamfered shape, i.e. by filing the end of the elements in a V-shape. This will increase the strength of your final assembly.
2. Assemble the elements
– Place the materials to be fused on a flat, clean, dry and electrically non-conductive surface.
– Assemble the parts to be welded with the clamp so that they do not move during the welding process.
– Attach the ground clamp to the parts to be welded. This will act as an electrical conductor during the welding process.
Note: If you have difficulty attaching the ground clamp to the parts, place the parts to be joined on a fireproof protective plate on which you can attach the clamp.
3. Set up the welding unit
– Read the instructions supplied with the welding unit carefully. It will give you essential information about the voltage and current required for the parts to be welded.
– Switch on the soldering station, making sure you choose the right voltage (220 V). The button is located on the front of the unit.
– Set the current according to the thickness of the parts to be welded and the electrode diameter you need to arc weld.
Caution: this phase is crucial for the quality of the weld and requires careful adjustment.
4. Initiate the welding arc
Before any manipulation, make sure you read carefully the instructions mentioned in the machine’s manual, as well as on the packaging of the electrodes, and respect them. Not all electrodes are connected in the same way.
Therefore, make sure that the connections (+ or -) are correctly assembled according to the electrode you need.
– Put on the protective gloves.
– Attach the stripped part of the electrode to the welding unit using the electrode holder. The electricity will then flow through the electrodes and the earth clamp you have previously attached to the parts to be welded.
– Put on the protective mask and gently start the arc.
– Rub the tip of the electrode and the item being welded to produce sparks.
[table]
5. Start arc welding
– Don’t forget to put on your protective mask.
– Start the welding phase, taking care not to rub the elements, but leaving a few millimetres of space.
– Be careful to respect the direction of movement so as not to weaken your weld.
– Advance the electrode on the elements to be welded by lowering the wrist as the electrode decreases.
It is imperative to keep a constant space between the electrode and the part to be welded throughout the action to maintain the electric arc that allows the welding to occur.
If you want to make a weld bead for a larger area, move the electrode over the part to be welded from time to time.
Important: Be careful to maintain the space necessary for the electric arc formation, despite the electrode’s length decreasing as you weld.
6. After welding
– Allow the materials to cool before handling. The temperature during welding can vary from 3,000°C to over 4,000°C, so it takes a few minutes for the elements to cool down.
– After the slag has cooled and solidified, remove it with the pitting hammer.
– Clean the welded assembly with the wire brush to remove excess and achieve a smooth surface.
– Remember to turn off the welding machine when finished.
Materials needed for arc welding
Welding rods
Wire brush
Thick protective gloves
File
Punch hammer
Welding mask
Ground clamp
Fireproof protection plate
Soldering station
Clamp