6 Steps for Gluing Loose Tiles
Summary
– Step 1: Remove the joints around the tile
– Step 2: Remove and clean the tile
– Step 3: Clean the tile area
– Step 4: Glue the back of the tile
– Step 5: Lay the tile
– Step 6: Make the joints
A loose tile allows water to seep in and can cause surrounding tiles to become loose.
Proceed with care when re-grouting loose tile so as not to break or damage the tile.
Clear the joints around the tile, carefully remove it, and re-glue it.
1. Remove the joints around the tile
Remove the joints around the defective tile:
– Use a grout scraper.
– Scrape the entire depth of the joint.
2. Remove and clean the tile
Remove the tile after removing the joints around it:
– Gently loosen the tile with a spatula.
– Gently scrape the adhesive off the back of the tile with a spatula, being careful not to break it.
– Clean it with a brush.
– Use a damp sponge to remove dust.
3. Clean the tile area
Clean the tile area before re-gluing
– Scrape off any traces of glue with a spatula.
– Clean the area with a brush.
– Wipe with a damp sponge.
4. Glue the back of the tile
Place and spread glue on the back of the tile to be glued.
– Place the glue in the center of the tile with a cat’s tongue trowel.
– Spread the glue towards the edges with a notched spatula.
– Leave a margin of a few millimeters at the edges.
5. Lay the tile
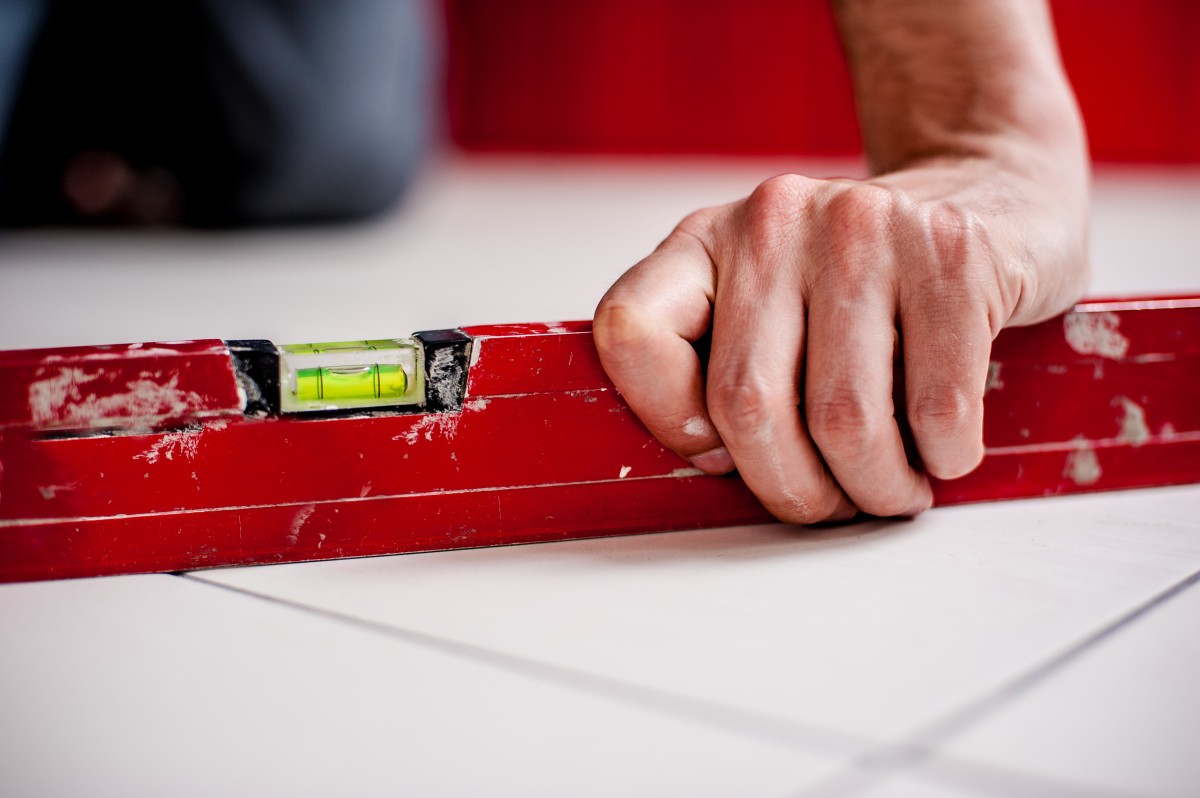
Once you have distributed the adhesive, lay the tile.
– Observe the joint spacing.
– Gently press the tile in for the adhesive.
– Make sure that the tile you are re-gluing is level with the rest of the tile.
– Clean up any adhesive residue on the tile with a damp sponge.
– If you are re-gluing a wall tile, tape it to the wall while the adhesive dries.
– If you are re-gluing a floor tile, do not step on it until the glue has dried completely.
– Allow the time indicated on the package to dry.
6. Make the joints
When the adhesive has dried, make the tile joints.
– Spread the grout on the tiles with a cat’s tongue trowel.
– With a rubber squeegee, make angled movements to fill the joints.
– Then, smooth the joints with the squeegee or with your finger.
– Wait for the mortar to begin to dry, and clean up the excess mortar with a damp sponge. Do not press on the joints to avoid digging them.
– Let the grout dry for the time indicated on the package.
Materials for re-gluing loose tiles
- Ready-to-use tile adhesive
- Joint scraper
- Notched spatula
- Spatula
- Ready to use grout
- Tiling scraper
- Cat’s tongue trowel
- Sponge + a piece of cloth
I did not include the price of the materials listed above, as prices are changing too often with the actual global inflation…
Hope this post has brought you some light on how to glue your loose tiles. Remember to share your experience in the comments below.
A plethora of articles await you here:
– Choosing Your Bathroom Renovations in Miami;
– Choosing between Glass Door and Aluminium Door;
– How to Make a Floating Dock?
– How to Organise a Company Cocktail Party?
– Reasons to Consider Copper Gutter;