
2 Steps for Painting a Fabric Chair
Contents
Step 1: Prepare your fabric chair for painting
Step 2: Paint the fabric of your chair
These days, anything seems possible when it comes to painting! No material can resist the building materials industry, the craft industry or the hobby industry.
Fabric is no exception to this decorative painting trend, but it needs to be treated with care and a minimum of common sense. Anything can be painted: plastic, metal, glass, tiles, cardboard. It is just a matter of choosing the right product.
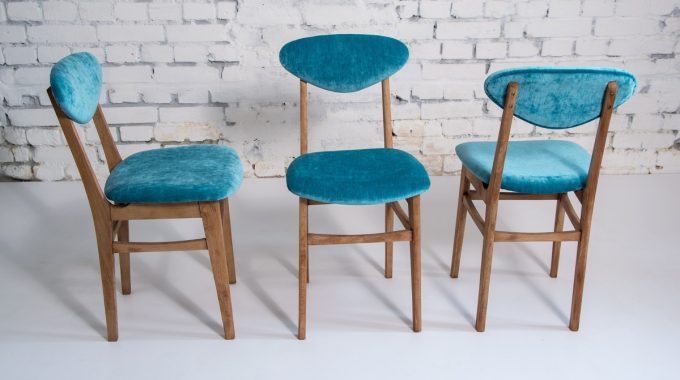
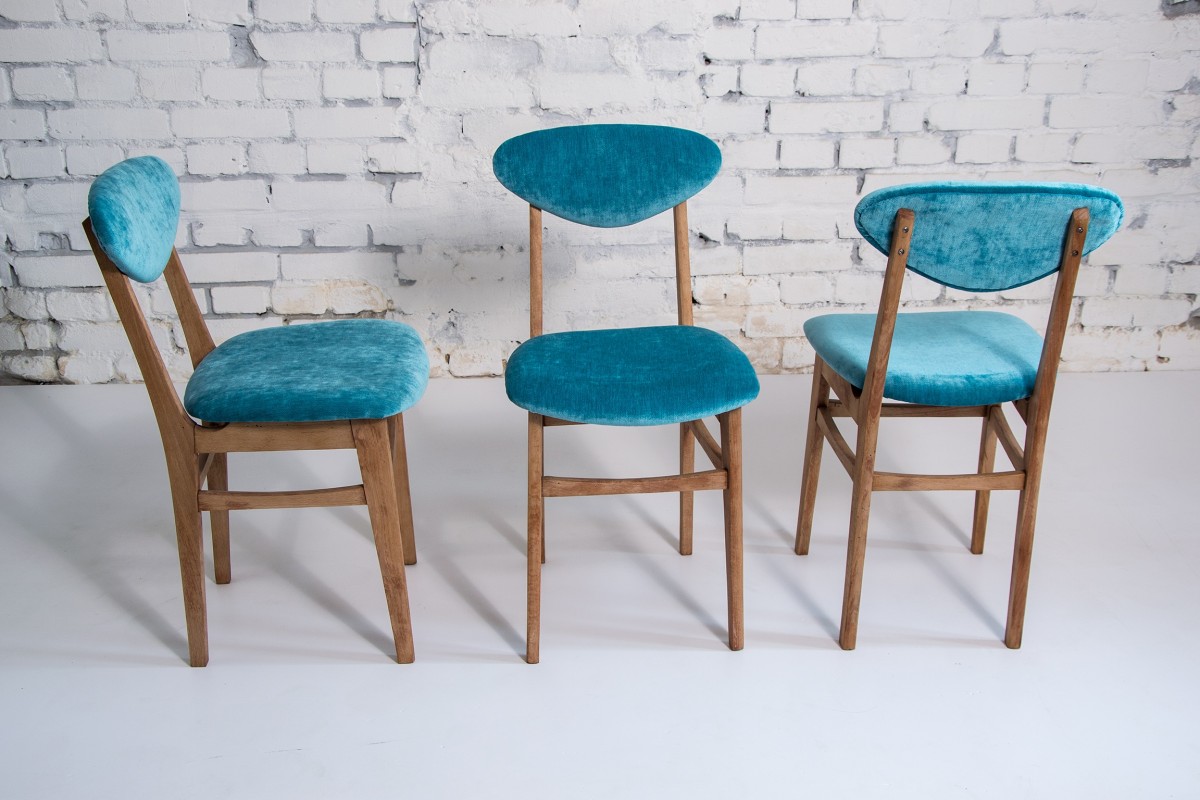
Note: if painting on fabric brings a solution of renewal to specific pieces of furniture (sofa, chair or armchair), it is a quick solution but cannot replace the work of an upholsterer. So don’t have fun repainting a valuable armchair!
This post explains how to paint a fabric armchair for the pleasure of change and the curiosity of a handmade finish.
1. Prepare your fabric chair for painting

A surface must always be sound, clean and dry before being painted. Depending on the condition of your chair, use one of these solutions:
Dust with a clothing brush to avoid damaging the fabric.
Vacuum to remove dust residues in the hollows.
Spray lightly (not saturated) with a water mixture and white vinegar (25% by volume of water) and rub with a clean cloth. Allow drying thoroughly (12 hours in a heated room).
If the stains are heavy, remove them with a suitable stain remover.
Tip: stain-removing soap is a simple and very effective product offered by various brands. It is applied wet to dry fabric: soak the stain in soap, leave to dry and clean with water.
Finally, it would help if you protect the legs of your chair to do a clean job. Use masking tape to do this, taking care to perfectly line the fabric…
Necessary: always put on gloves before painting to protect your skin.
2. Paint the fabric of your chair
There are three possible choices of paint depending on your intention:
-
acrylic paint for fabric in a can, which comes in translucent or opaque versions;
-
acrylic fabric paint in aerosol cans;
-
textile binder, which is added to ordinary acrylic paint.
Caution: check the directions of use, as some textile paints need to be fixed by the action of an iron. It is, therefore, best to avoid them for a chair.
Example 1: you want to paint patterns

For this operation, choose acrylic paint in a pot. Presented in small pots (45 ml), you can buy several of them (about $9 each) to make an assortment of several colours and create pretty patterns. There is also textile paint for furnishings in larger packages, for which you should pay about $90 for 0.5 litres.
Tip: To make the colours stand out, choose translucent colours for light and opaque colours for dark fabrics. And to reinforce the colours, apply a second coat after 24 hours of drying.
As with many painting activities, the line can be drawn freehand or transferred with a ready-made stencil or by yourself. Choose the option that suits you.
Paint with round brushes with pointed tips (or other, depending on your designs) for acrylic paint.
Tip: it may be necessary to moisten the surface slightly before painting to help the textile fibre become impregnated. Test this beforehand on the back of the chair, for example.
Example 2: you want to paint the entire upholstery flat
The application of acrylic paint on a fabric that is too thick should be avoided as it requires large quantities of paint to impregnate the material, which on the one hand, increases the cost of the operation, and on the other hand, stiffens the fabric, making the cushion uncomfortable. The visual effect of cloth saturated with paint is not very happy and is more like cardboard.
On the other hand, if your chair is made of a smooth, soft fabric, you can opt for textile binder or spray paint:
If you opt for binder to paint your chair:
– It is mixed with ordinary acrylic paint, matt or satin, depending on the desired look (count $20 for 120 ml).
– Respect the doses recommended by the manufacturer to make the mixture which must be fairly liquid. – A test run will always tell you the right amount for your particular case.
– Take a flat brush (a 10 cm wide Spalter) to paint the surface of the cushions and a smaller, pointed one for the edges and corners of the covering.
Brush along the grain of the fabric.
After drying, check that you are happy with the look. If not, apply a second coat.
Please note: the result of a first coat may change as it dries, depending on the nature of the upholstery, the fabric and how clean the material is. Some stains may come out in the wet, so it’s best to take care of them first! Or you can seek help from an expert in Traditional and Antique Furniture Restoration in Greensborough.
If you choose to paint your chair with a spray can:
This is the least environmentally friendly product and the most expensive ($20 per 150 ml for about 0.5 m²). So it is best to use it only for complicated shapes to paint (it is always easier to cover this way) or fabrics that are not very absorbent.
Make complete protection of the chair: nothing should stick out except the fabric parts to be painted.
Protect your surroundings with a tarp.
Spray with a regular, well-covered jet. The paint should penetrate the fabric and adjust your spray distance according to the result.
Allow to dry and come back with a second lighter coat if necessary.
Materials needed to paint a fabric chair.
Tarpaulin
Brush
Sponge + Cloth
Disposable latex gloves
Acrylic paint
Round brush
Spalter brush
Masking tape
White vinegar