
3 Steps to Sanding a Wooden Staircase
Contents
– Step 1: Prepare your work environment
– Step 2: Sanding the Stairs
– Step 3: Finishing
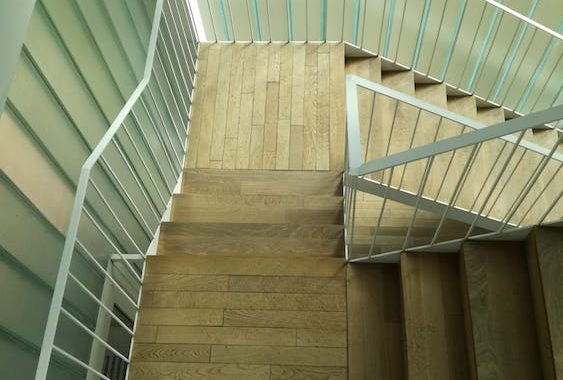
Every three years or so, it is recommended to sand your wooden staircase to apply a new coating (varnish, paint…) and thus preserve its original beauty.
To do this, you must prepare your environment to work safely and equip yourself with two electric sanders or a sanding block for manual sanding.
Here are the steps and equipment to sand a staircase.
1. Prepare your work environment
Sanding stairs generates a significant amount of dust. Protect furniture and floors on the ground and upper floors with tarps, used sheets, or polyethylene film.
– To prevent dust from spreading to other rooms, close doors.
– Caulk the space between the door and the floor with a terry towel or dish towel.
– Then open the windows in the room.
– Protect yourself with a mask, gloves, and goggles.
2. Sand the stairs

There are two ways to sand a staircase: manually or with an electric sander.
Sanding manually
– Use a sanding block and suitable sanding paper: medium grain for roughing and fine grain for finishing.
– Sanding is always done in the direction of the wood grain.
– Note that sanding a staircase with a sanding block will take a long time.
Sanding with electric sanders
For faster sanding, choose to sand your stairs with electric sanders:
– One belt sander to sand large areas of the staircase.
– The other is a corner sander for sanding inaccessible parts with a belt sander.
– They will be equipped with sheets of medium and fine grit sandpaper.
To do this:
– Place a sheet of medium grit sandpaper on the belt sander shoe.
– Also, place a triangle of medium grit sandpaper on the angle sander.
– Connect the belt sander plug to a 5 or 10 m extension cord so you can work freely on the stairs to be sanded.
– Sand the stair treads, the tread edges, and the handrail. The wood should be left bare.
– With the angle sander, sand the areas that could not be sanded with the belt sander.
– After sanding the staircase with medium-grit sandpaper, sand again with a fine-grit sandpaper.
3. The finishing touches

The vacuum cleaner efficiently removes dust from the floor and the tarpaulins (or other) that protect the furniture.
With the cloth, wipe the stairs to remove the sanding dust that the vacuum cleaner could not remove.
Equipment for sanding stairs
Vacuum cleaner
Tarp
Dusting brush
Sanding block
Cloth
Gloves, goggles, and mask
Sanding paper for sander
Belt sander
Angle sander
Electric extension cord
Towel
So that’s it for sanding a wooden staircase. Hope these 3 steps will help you out. Remember to share your experience in the comments below.
A plethora of articles awaits you below. Do read them all!
– How Do You Paint a Staircase;
– How to Choose Your Stair Cladding;
– Which Staircase to Choose for Your Dining Room;
– Choosing Your Bathroom Renovations in Miami;
– Choosing between Glass Door and Aluminium Door;
– How to Make a Floating Dock;
– How to Organise a Company Cocktail Party;
– Illuminated Signage for Your Business: Advantages & Drawbacks of Lightboxes;
– Reasons to Consider Copper Gutter;
– How to Choose Insulation Under Tiles;
– 5 Reasons to Choose a False Ceiling;
– 6 Steps for Gluing Loose Tiles;